Tools Needed
1. Eclipse IDE
2. MySQL installed.
- Leave mysql default port to 3306 and setup username and password which is required in MyDAO.java files where we indicate the database connections configurations
- Create Database called studentdb and create table called employee.
- In employee table with column id, name and salary insert some data into it.
Lets Start simple Java
- Create Java Project using eclipse IDE. I hope you will understand what is java project, dynamic project and maven projects or ejb project. so simply create java projects.
 |
| JDBC simple java project |
2. Create package in src called com.vastik.jdbc and Create javabean (by definitons should have constructor and setter/getter) called Employee.
package com.vastika.jdbc;

public class Employee {

 private int ID;
 private String Name;
 private int Salary;

 public int getID() {
  return ID;
 }

 public void setID(int iD) {
  ID = iD;
 }

 public String getName() {
  return Name;
 }

 public void setName(String name) {
  Name = name;
 }

 public int getSalary() {
  return Salary;
 }

 public void setSalary(int salary) {
  Salary = salary;
 }

 @Override
 public String toString() {
  return "EmployeeID=" + ID + "\tName=" + Name + "\tSalary=" + Salary;
 }

}
3. Create DAO layer that actually deal with database connections and CRUD operations i.e.
create, update, retrieve and delete.
package com.vastika.jdbc;

import java.sql.Connection;
import java.sql.DriverManager;
import java.sql.ResultSet;
import java.sql.SQLException;
import java.sql.Statement;
import java.util.ArrayList;
import java.util.List;

public class MyDAO {

 private final String SELECT_ALL = "SELECT * FROM employee";

 /**
  * Create getConnection Method which will allows in establishing the
  * connection to database prior to any CRUD operations. i.e. Create,
  * Retrieve, Update or Delete.
  * */
 public Connection getConnetion() {

  Connection conn = null;
  String url = "jdbc:mysql://localhost:3306/";
  String db = "studentdb";
  String driver = "com.mysql.jdbc.Driver";
  String username = "root";
  String password = "test";

  try {

   /*
    * registering with the driver with local mysql host
    */
   Class.forName(driver);
   conn = DriverManager.getConnection(url + db, username, password);

  }

  catch (SQLException e1) {

   System.out.println("Not Connected check the try block!!!");
  }

  catch (ClassNotFoundException e2) {

  }

  return conn;

 }

 /**
  * This getAllEmployee method will first call the getConnection Method to
  * get connection to DB, and then fetch the data from database and sets this
  * each rows values into each instance of employee object's instance
  * variable. And returns List of employee.
  * */
 List getAllEmployee() {

  Connection conn = getConnetion();
  List emplList = new ArrayList();

  try {
   Statement stmt = conn.createStatement();
   ResultSet rs = stmt.executeQuery(SELECT_ALL);
   while (rs.next()) {
    Employee emp = new Employee();
    emp.setID(rs.getInt(1));
    emp.setName(rs.getString(2));
    emp.setSalary(rs.getInt(3));
    emplList.add(emp);
   }
  }
  catch (SQLException e) {
  }
  return emplList;
 }}
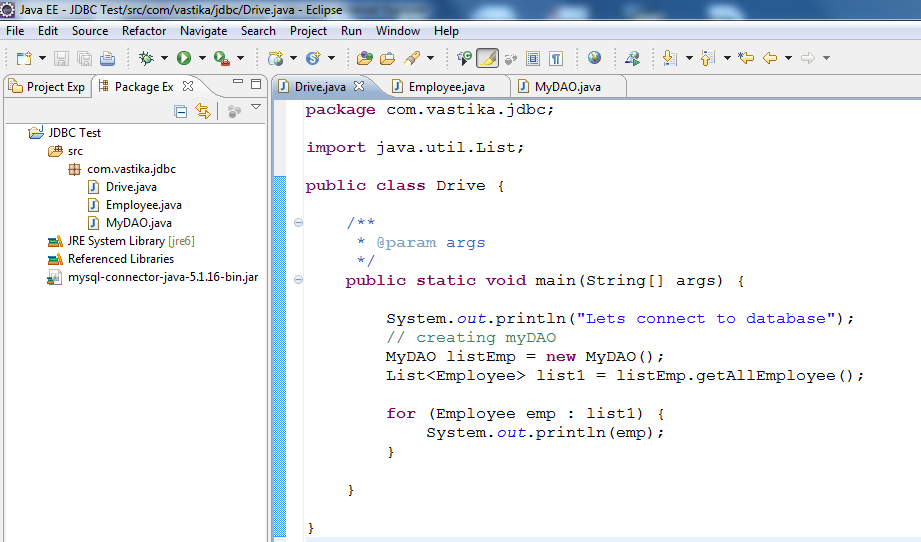
4. Make sure your mysql is up and running. Now create Driver class that fetch the data from database and display in the console.
package com.vastika.jdbc;

import java.util.List;

public class Drive {

 /**
  * @param args
  */
 public static void main(String[] args) {

  System.out.println("Lets connect to database");
  // creating myDAO
  MyDAO listEmp = new MyDAO();
  List list1 = listEmp.getAllEmployee();

  for (Employee emp : list1) {
   System.out.println(emp);
  }

 }

}
Hope you will enjoy this basic of all.
No comments:
Post a Comment